
Bush dwelling guavas
I live with creatures who love sweet guava berries. Some of those creatures are rabbits, and one of the creatures is human.
The human sometimes takes exception to the rabbits gobbling up the ripe red berries in our short guava season; so to ease tentions and keep everyone happy, I make jelly from the guavas picked from the tree, and leave the ones that fall to the ground for the rabbits.
Guava jelly mathematics
Guava jelly is all about the fruit to sugar ratios and you won’t know how much sugar or jars you’ll need until after you’ve boiled and strained the guavas.
I picked a colandar full of berries which when boiled yielded two litres of juice. My highly developed math-skills told me that halving the amount of liquid determines know how much jelly I’m going to end up with; in my case 2 ltrs of guava juice reduced to 1ltr after boiling which means I needed 4 x 250ml jars.

Guavas make the prettiest jelly
Guava jelly recipe
Gather as many guavas as you can fit into your biggest saucepan (I didn’t remove stems)
Cover with water and bring to the boil.
Boil until the berries start to lose their structure; turn heat off and leave to cool.
When the mixture is cool, mash carefully with a potato masher.
Strain liquid through a muslin clothlined colendar (I use a tea towel which gets stained but does the job nicely) overnight - you want all that lovely juice but none of the pulp.
Return juice to your clean saucepan. Add half a cup of sugar for every cup of juice.
Bring to the boil. This is where making jelly is exactly like jam making: the jelly needs to live in this boiling world until, when tested, the skin of jelly wrinkles. For my jelly, it took about 70 minutes but this time will vary for yours.
Once the jelly/jam wrinkle test level is achieved (there’s a link to a video on testing jam/jelly below), remove the mixture from the heat, and pour into sterilised jars and seal. BE CAREFUL: everything is super hot and will burn you really really badly. SO BE CAREFUL!
Once cool you can store them in your pantry until needed.
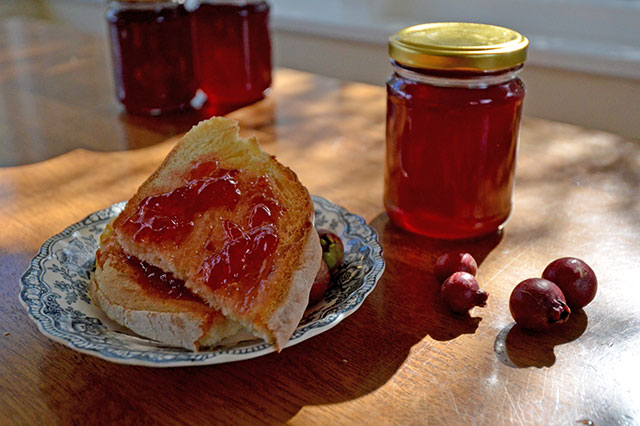
Guava jelly on toast - a sweet autumnal treat
Associated links
10 tips for jam, jelly, and marmalade making (About.com)
How to test for jam (BBC Good Food)
7 Tips to make sure your jam sets (TheKitchn)
How to sterilise jars (Jamie Oliver’s Food Tube)
IMPORTANT UPDATE: use same method with crab apples or feijoas.